2014年7月20日 星期日

RaspBerry Pi 系統設定

RaspBerry Pi


HDMI to VGA

Add config.txt to root dir of SD card with following contains

#disable_overscan=1
hdmi_force_hotplug=1
hdmi_drive=2
hdmi_group=2
# 1680x1050 60MHz
  hdmi_mode=58
# 1080p
  # hdmi_mode=82

Setup a static IP

  • Launch "WiFi Config" on the desktop
  • Config you wifi connection and set the IDString
  • $ sudo nano /etc/network/interfaces and add following lines
    iface IDString inet static
       address 192.168.1.88
       netmask 255.255.255.0
       gateway 192.168.1.1
    

    IDString is the name of connection that you set using the GUI WiFi Config

  • $ sudo nano /etc/wpasupplicant/wpasupplicant.conf
    network={
    ssid="YOURNETWORKNAME"
    psk="YOURNETWORKPASSWORD"
    proto=RSN
    keymgmt=WPA-PSK
    pairwise=CCMP
    authalg=OPEN
    }
    
    • proto could be either RSN (WPA2) or WPA (WPA1).
    • key_mgmt could be either WPA-PSK (most probably) or WPA-EAP (enterprise networks)
    • pairwise could be either CCMP (WPA2) or TKIP (WPA1)
    • auth_alg is most probably OPEN, other options are LEAP and SHARED
    • $ sudo reboot (or sudo service networking restart)
    • To check whether an IP address is set or not, type ip command. $ ip a
  • Using GUI config tool
    • $ sudo apt-get install wicd-curses
    • $ sudo apt-get install wicd-gtk

Update package source

  • $ sudo apt-get update
  • $ sudo apt-get upgrade

Install Remote desktop

  • $ sudo apt-get install tightvncserver
  • Lunch vnc server at startup

    1. Create a new file $ sudo nano /etc/init.d/tightvncserver
    2. Put following code into it

       ### BEGIN INIT INFO
       # Provides: tightvnc
       # Required-Start: $remotefs $syslog
       # Required-Stop: $remotefs $syslog
       # Default-Start: 2 3 4 5
       # Default-Stop: 0 1 6
       # Short-Description: Start VNC Server as a service
       # Description: Start VNC Server as a service.
       ### END INIT INFO
       #!/bin/sh
       # /etc/init.d/tightvncserver
       # Customised by Stewart Watkiss
      
       # Set the VNCUSER variable to the name of the user to start tightvncserver under
       VNCUSER='pi'
       eval cd ~$VNCUSER
       case "$1" in
       start)
          su $VNCUSER -c '/usr/bin/tightvncserver :1'
          echo "Starting TightVNC server for $VNCUSER "
          ;;
       stop)
          pkill Xtightvnc
          echo "Tightvncserver stopped"
          ;;
       *)
          echo "Usage: /etc/init.d/tightvncserver {start|stop}"
          exit 1
          ;;
       esac
       exit 0
       #
      

    3. 改變此檔案的權限 $ sudo chmod 755 /etc/init.d/tightvncserver
    4. /etc/init.d/tightvncserver start
    5. 輸入pi的密碼,然後再輸入vnc用的密碼
    6. 加入開機程序 $ sudo update-rc.d tightvncserver defaults

Setup samba server

  1. $ sudo apt-get install samba
  2. $ sudo nano /etc/samba/smb.conf
  3. Find # security = user
  4. Remove # as security = user
  5. Attach following lines to the end
       [Share]
       comment = Share_Folder
       path = /home/pi
       browseable = Yes
       writable = Yes
       public = No
    
  6. 執行以下步驟來新增 samba server 的使用者名稱: $ sudo pdbedit -a pi
  7. 可以使用以下指令查詢 samba server 現有的使用者: $ sudo pdbedit -L
  8. 最後再重新啟動 samba server: $ sudo service samba restart

Mount folder at startup

  1. $ sudo nano /etc/fstab
  2. Add following line
       /dev/mmcblk0p11  /data           ext4    defaults          1       0
    
  3. $ sudo mkdir /data
  4. $ sudo mount -a

Mount a network drive

  • $ sudo mount -t cifs -o username=yourusername,password=yourpassword //WindowsPC/share1 /mnt/mountfoldername
Mount at startup
  1. $ sudo nano /etc/fstab
  2. Append the following to the /etc/fstab file
    //WindowsPC/Share1 /mnt/mountfoldername cifs username=yourusername,password=yourpassword 0 0
    

Config RaspBerry Pi

  • $ sudo raspi-config
  • $ sudo passwd root

2011年5月8日 星期日

【Software】ubuntu tips (11.04)

  • 啟用Thinkpad滑鼠中鍵

    在軟體中心裏搜尋並安裝Pointing devices,打開設定,勾選Use wheel emulation,然後button設成2,按OK就行了。


    如果用起來覺得靈敏度不佳,可以用以下方法調整

    sudo gedit /etc/rc.local

    # 游標速度,可調整數值。大為快,小為幔
    echo -n 180 > /sys/devices/platform/i8042/serio1/speed
    # 靈敏度,最高應為 255
    echo -n 250 > /sys/devices/platform/i8042/serio1/sensitivity
    # 按小紅點為選取,1 為啟用,0 為關閉。
    echo -n 1 > /sys/devices/platform/i8042/serio1/press_to_select


  • 在桌面左邊的啟動列加入Firefox的profilemanager選項

    開啟terminal輸入

    sudo gedit /usr/share/applications/firefox.desktop

    修改下面那行,在後面加入SafeMode;ProfileManager;

    X-Ayatana-Desktop-Shortcuts=NewWindow;SafeMode;ProfileManager;

    並在最後加入下面選項

    [SafeMode Shortcut Group]
    Name=Open Firefox in safe mode
    Exec=firefox -safe-mode
    TargetEnvironment=Unity

    [ProfileManager Shortcut Group]
    Name=Firefox Profile Manager
    Exec=firefox -ProfileManager
    TargetEnvironment=Unity


  • to be continue...

2011年2月27日 星期日

【NAS】讓Win7的防火牆能夠存取NAS分享的資料夾

開啟 控制台\Windows 防火牆,點選左上方的 允許程式或功能通過Windows防火牆


勾選 Netlogon服務 再按下面的 確定 就行了

2010年9月12日 星期日

【QNAP】預設值微調

  • 更改檔案下載預設路徑
  • 更改 /etc/config/smb.conf 檔案裏的 Qdownload path from "/share/Qdownload" to "/share/mysharefolder/newdownloadpath",然後重新開機。

  • Mount network drive
  • > mkdir newfolder
    > mount.cifs //192.168.1.1/Data newfolder -o user=username,pass=password

  • 開機時自動執行指令
  • Running Your Own Application at Startup # vi /etc/config/qpkg.conf

    • Log into your QNAP device using SSH or Telnet, for instance by using Putty
    • Edit QPKG config file:
    # vi /etc/config/qpkg.conf
    
    • Declare a new dummy package by adding something like that in this file, but take care about the order. e.g. if you would like to start a service from a optware package, be sure optware is initialized before:
    [autorun]
    Name = autorun
    Version = 0.1
    Author = neomilium
    Date = 2013-05-06
    Shell = /share/MD0_DATA/.qpkg/autorun/autorun.sh
    Install_Path = /share/MD0_DATA/.qpkg/autorun
    Enable = TRUE
    
    As you can see, Shell is the interesting variable: at boot-time, QNAP OS will launch each QPKG's Shell variable content.
    Note: if your NAS doesn't have /share/MD0_DATA (i.e. is a one-drive NAS), put the right directory into the Shell and Install_Path variables and adapt the following commands to your needs.
    • Create the dummy package directory:
    # mkdir /share/MD0_DATA/.qpkg/autorun
    
    • Create the autorun script with the contents of your choice:
    # vi /share/MD0_DATA/.qpkg/autorun/autorun.sh
    
    Note: don't forget "#!/bin/sh" at the beginning of script.
    • Set the execute bit:
    # chmod +x /share/MD0_DATA/.qpkg/autorun/autorun.sh
    
    • Reboot and enjoy!

2010年8月8日 星期日

【Buy】3M濾水壺


昨天看到PC家有特價就訂了一組,今天收到了,照上面的貼紙看來,應該是到處都有的上市特價。


濾心的內部構造,強調滴滴不漏,全都濾,不過……


它的濾心是裝在進水盒的下方,用濾心上面的橡膠環來擋水,上面可以看到漏氣了,平常用時,水應該是不會從那邊流出來,不過如果濾心整顆泡在水裏時,水應該會從那裏滲出來吧……

- Posted using BlogPress from my iPhone

Location:YuánXìng Rd,Sijhih City,Taiwan

2010年5月5日 星期三

【Buy】MacBook Pro 13"基本款入手

又見開箱文了,這次是第四顆蘋果了,也是最貴的一顆,是的,各位觀眾~~~MacBook Pro 13"登場了。阿婆的東西,美是很美,但是這也反應在它的售價上了,相同的規格,硬是比他牌加上Windows要貴上一截,不過.........,看得爽用得爽.........無價。
這台MBP我是在Apple的網站上訂購的,是用教育價入手的,基本上他也沒有任何的資格審格,我想應該是因為台灣學校太多了,所以很容易就能找到人頭戶,所以他們也懶得審了吧,我本身準備好人頭戶待查,所以就在官網直接下訂了,唯一的缺點就是.........沒辦法辦分期。
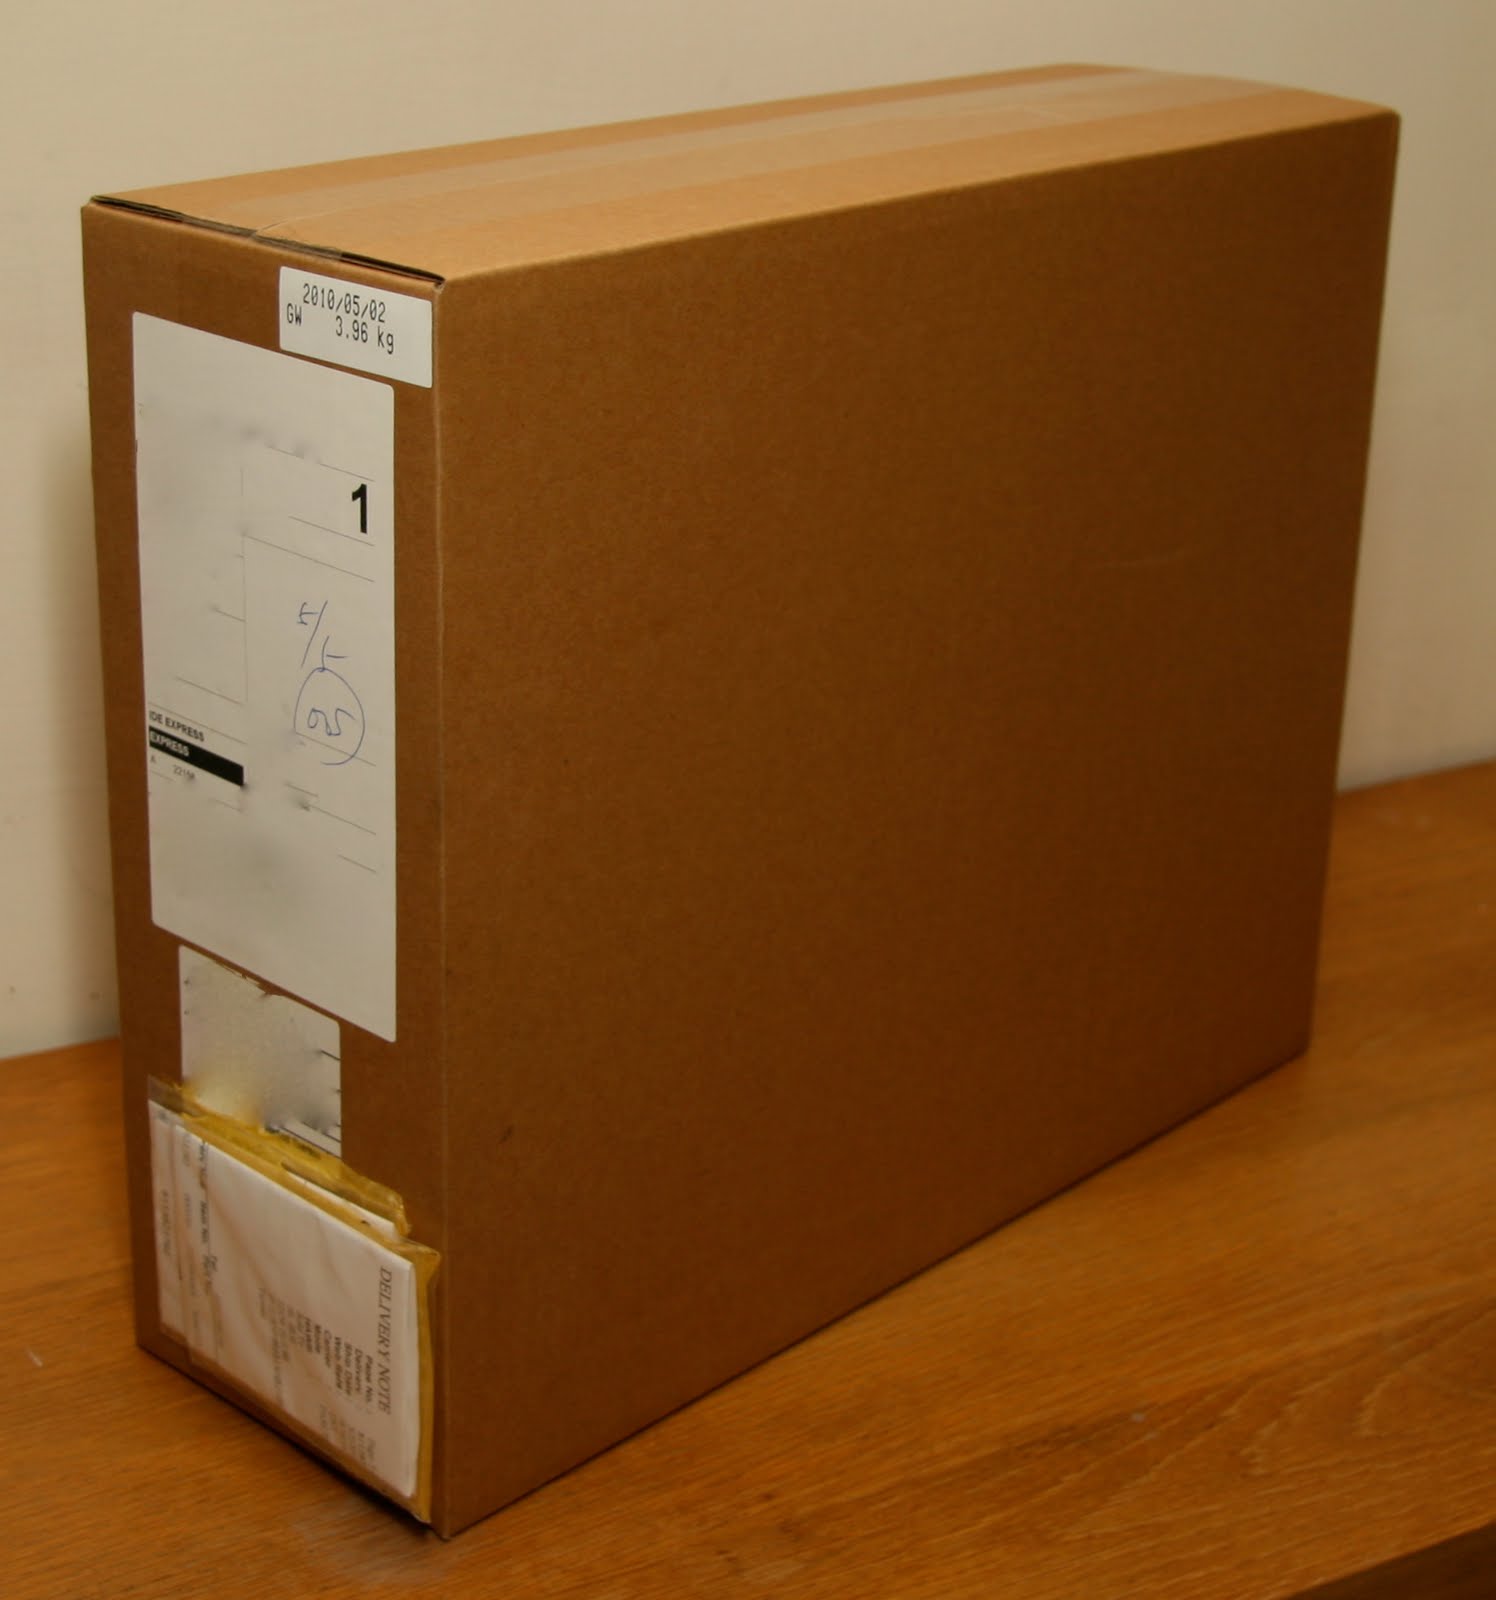
這台是個人買的第二台NB,之前買的第一台是雜牌的,品質實在是蠻爛的,所以這次入手MBP就覺得爽度有給他加倍,接下來就來開箱吧。這款MBP不知是不是因為剛發表,台灣沒有存貨的關係,是從上海直接寄出來的,從出貨到收件,中間的轉運過程都有出貨單號可以追蹤,雖然是國際郵件,不過速度還蠻快的,三天就收到了,上面就是收到的外包裝了。

拆開可以看到內盒用紙做的東東固定起來了,這個沒有防震的功能,只能避免不幸發生碰撞時,不會傷到裏面的物品。

拿出MBP的紙箱,外面還罩著一個塑膠袋。

正面標示著內容物,下面一行小字則是註明螢幕尺寸。

背面就是開機的示意圖了,軟、硬體皆是由阿婆所親手打造,這樣的好處是,可以把相容性的問題降到最低,而且二邊都可以自己賺(誤XD)。

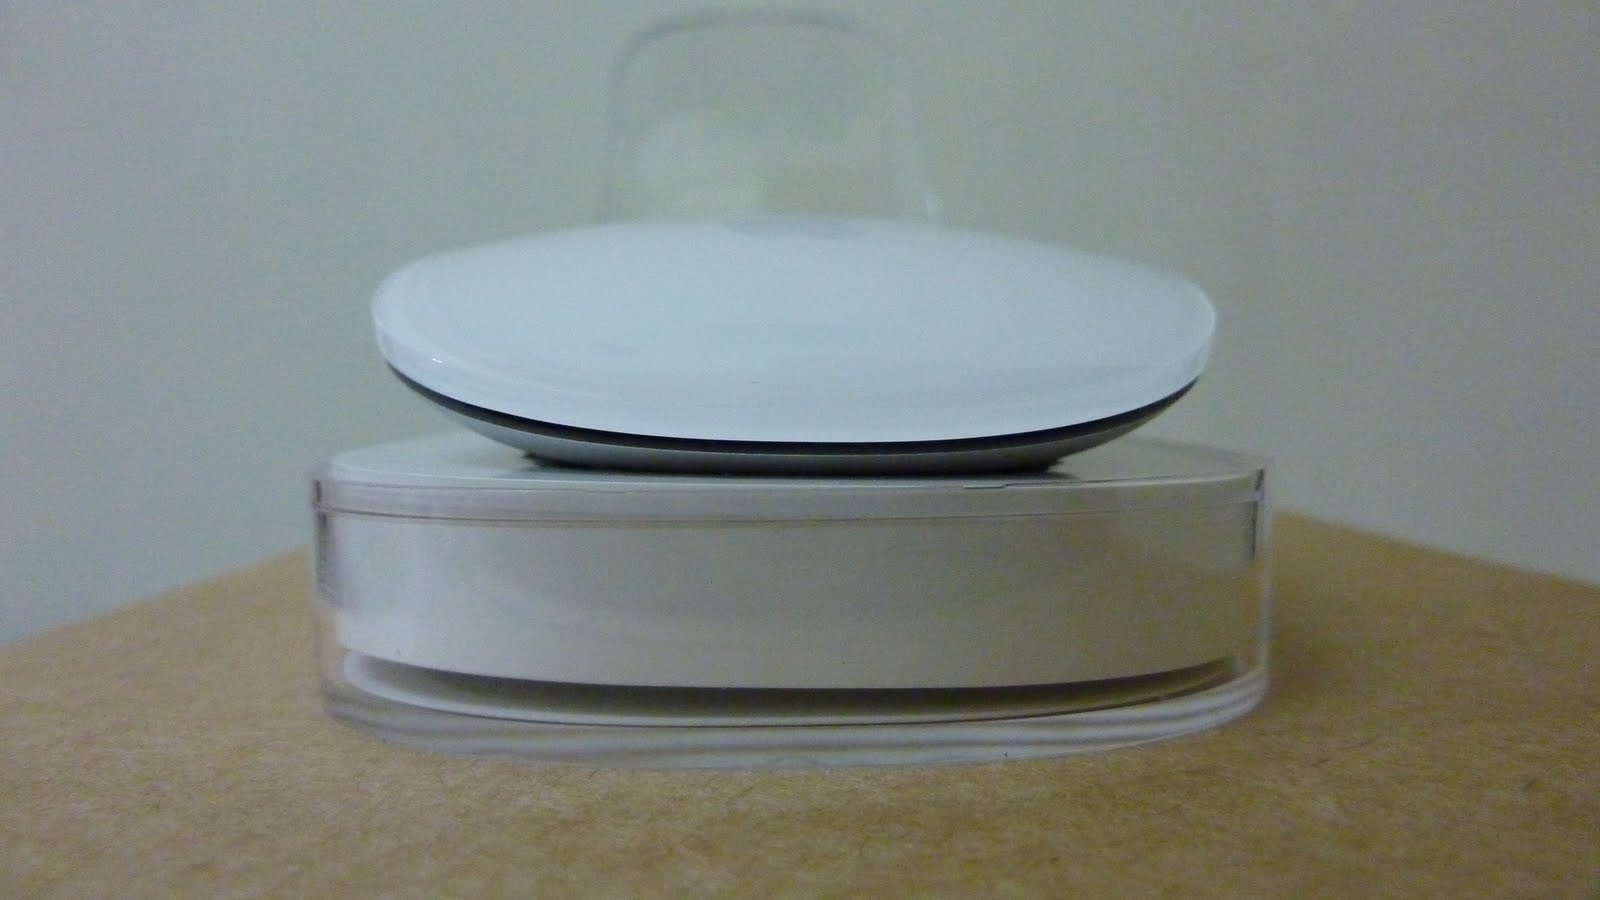
外盒是由硬質透明貼紙封盒,用刀割開後就能看到裏面躺著個現代藝術品。上蓋黑色物體是軟墊,用來保護裏面貴三三的東西。

把MBP拿起來後就能看到配件就躺在下面的塑膠隔間中,個個安份守已,不吵不鬧。

登登此時無聲勝有聲(其實是懶得打字了:P)


把貼紙撕破,輕輕一拉就脫光光了XD


買了moshi的超薄鍵盤膜來防灰塵

裝上鍵盤膜後的樣子

這個充電器接很有意思,它帶有磁性,靠近充電孔時,就會自動吸上去,這樣在使用時就算不小心拉到線,也不怕會去拉扯到NB,蠻不錯的設計,上面還有充電指示燈,上下面都有,所以可以任你吸,充電時亮橘色,充飽時會變綠色。

變壓器,它還有另一個頭,換上後那條延長線就可以不用帶出門,把變壓器直接插在插座上就行了。

開機。

開機二。

只拍到黑色的X mark,真是................

2010年4月15日 星期四

【Buy】Apple iPad

 四月三日iPad正式在美國開賣,本來想等進口商進口後再入手,不過考慮到目前沒有繁中介面和輸入法,正式引進台灣的日子遙遙無期,想說乾脆打鐵趁熱,就開始在拍賣上尋找標的物。經過一番努力,看到的價格都比在美國實際可入手價格(定價+8~10%稅金+回收金$8)多上NT$4000以上之譜,而且都還要預訂,於是就呈半放棄狀態。結果........,沒想到運氣實在太好了,剛好看到一個出差快回台的賣家有在幫忙代購,精算一下,只比美國人多花二仟左右就能入手,就趕快下訂了一台,後來繼續關心那位賣家的代購狀態,果然在短時間內名額就沒了,這時就暗自慶幸還好自己動作夠快^_^,在打這篇文章的同時,美國也漸漸缺貨了........

 其實看iPad的硬體規格並不會很強,認真來說除了大家讚賞的IPS螢幕之外,其他並沒有讓人驚豔的地方,不過Apple厲害的地方就在於它背後龐大軟體數量以及創意,由於Apple推出了線上軟體商店,大大的解決了過去軟體銷售的問題,這無疑是開啟了軟體應用的新紀元,以量制價的定價策略之下,加上全球大量的使用者,雖然很多軟體只賣0.99鎂,但是賣個一佰萬套的話,那也是一大筆進帳,不少軟體開發者也因而致富。在這良性循環之下,更是將後來的模仿者,遠遠的拋在後面。如果你還以從前的思維,用硬體規格來評斷一個產品的好壞,那你只會錯過Apple為使用者所打造的美好體驗~~~

↑開箱了,Apple產品的包裝一向很簡潔

↑美背設計,簡直好看,我因想要享受使用裸機的快感,
所以也沒買保護套,不過原廠出的那個,評價好像不錯,賣到都缺貨了

↑來張藝術照

↑重量不算重,不過拿久了手也是會酸

↑這個螢幕果然是讚

↑看漫畫的利器啊

↑最後來張沙龍照

2010年2月21日 星期日

【iPhone】Cydia app

Source

  • app.weiphone.com/cydia/
  • cydia.install0us.com <== 注意是數字0, 不是英文字o
  • cydia.hackulo.us
  • cydia.xsellize.com
  • repo.beyouriphone.com
  • sinfuliphonerepo.com/
  • www.iphone.org.hk/apt
  • http://theiphonespotrepo.net/apt/

APP

Default

圖示 程式名稱 說明 Source
1 3G Unrestrictor 3G Unrestrictor 以3G模擬Wifi連線, 能打Skype電話, 看高清youtube, etc
2 normal afc2add 解決USB連結不能瀏覽系統檔的問題Default
3 Appsync Appsync iTunes安裝破解 ipahttp://cydia.hackulo.us
4 AppLinks AppLinks 於WinSCP/iFile快速找尋app所在的資料夾, 原本folder只是代號
5 AptBackup AptBackup 透過iTunes來backup/restore在Cydia裡安裝的軟體Default
6 autolocktoggle Autolock SBSettings SBSetting中加入autolock的開關
7 Backgrounder Backgrounder exit app後依然可以背景運行, 例如聽收音機,程式有註明for 2.x及3.x兩種版本,別安裝錯了!
8 autolocktoggle Close Button Widget SBSetting中加入關閉app的開關
9 cycorder Cycorder iPhone 2G/3G 專用, 拍片
10 tools CyDelete Cydia 安裝的程式可直接在home頁刪除
11 Cyntact Cyntact 讓通訊錄顯示人像圖片
12 normal Dock Shortcut軟體http://cydia.clezz.com
13 tools Five/Six icon dock 將dock增至五個或六個
14 Flashlight Flashlight 史上照度最強的手電筒程式免費版
15 iAcces iAcces 最新為V4.1 中文輸入法包括速成, 倉頡, 筆劃等===>注意:如果有裝舊版XX的會變白蘋果!
16 iFile iFile 檔案總管, 選 sinfuliphone那個crack版email輸入 ifile@ifile.com 可xx
17 normal infinidock sprintboard最下的dock可以無限左右增加和slide
18 Appsync Installous 可以不經iTunes,用手機直接下載並安裝 ipa
19 install0us Install0us (同上,但較新出的) 在CYDIA安裝IPA的INSTALL0US
20 questionmark iPhoneDelivery 你發了SMS後會再通知你 別人何時收到
21 Longitude Longitude 定時更新Google Latitude位置
13 tools MobileVolumeSound 加入音量鍵的音效Default
17 normal MultiIconMover 可同時搬移多個的軟體圖標 免費版
23 MyWi MyWi 通過 USB / bluetooth / Wifi 分享internet,記得找有標註"NO ROCK"的XX版本,才是王道!
24 Notifier Notifier 在狀態列顯示提示圖示
25 openssh Openssh 用winscp必要的程式
26 Overboard Overboard Springboard縮圖、切換
27 PkgBackup PkgBackup 備份CYDIA的軟體
28 RoqyBluetooth RoqyBluetooth 讓你的 iPhone 2G/3G/3GS, iPod touch 2G/3G 支援外接GPS
29 normal Rotation Inhibitor 強行設定safari橫屏或直屏
30 normal SBSettings 必裝, 多個快捷鍵(快速開啟wifi, 3g 等), 隱藏icon
31 autolocktoggle SBSettings Tethering toggle SBSettings裡增加Tethering的開關
32 Searcher Searcher 聯絡人、備忘錄、safari書籤....等的搜尋工具,可用電話號碼找人
32 Searcher Snappy 快速啟動照相軟體Default
33 PhotoShare Web PhotoShare Web 在相簿裡上傳照片到「RapidShare」、「ImageShack」、「Twitter」、「Flickr」、「Glowfoto」
34

wi-fi sync
透過wifi和iTunes同步
http://theiphonespotrepo.net/apt/


參考來自:http://www.i-onhand.com/forum/viewthread.php?tid=12448&extra=page%3D2